Upcoming Meetings
July 14, 4-7pm. - PAINT OUT
Location: Old Cedar Ave. Trail. Follow Old Cedar Ave until it ends at the parking lot.
(Map will be provided in future newsletter)
September 8, 2026 - 7:00pm-9:00pm - Member Meeting
Sue Rowe on the topic of “Experimenting with pastels”
Location: Hastings Art Center, 216 4th St. East, Hastings
November 10, 2026 - 7:00pm-9:00pm - Member Meeting
Becky Jokela on the topic of “Field to Studio”
Location: Bloomington Center for the Arts, 1800 W Old Shakopee Rd, Bloomington MN

Board meetings are held on the first Tuesday of every other month, beginning with January, from 5:30-7:00 via zoom.
Member meetings are the second Tuesday of the same month as the board meeting, from 7-9pm.
At our member meetings we feature guest speakers, demonstrations, materials and equipment information, critiques and exchanges of information and insight to further members' artistic development and our sense of community as a society.
Starting in 2026, to encourage attendance by our members from throughout the state, we will be holding our Member meetings in a variety of locations throughout the Twin Cities.
Past Meetings
Member Meeting
May 12, 2026
Patricia Duncan shared her wisdom at our May Members Meeting as a part of her three day workshop. She wanted to hand out these words to further inspire your creativity and gratitude for getting to be artists.
The arts provide a wonderful opportunity at any stage in your life. Whether it is the visual arts, music, theater, writing, these "gifts" allow all of us to use the "Creative Spirit" or "Creative Force" that lies within your soul. Alfred Adler, a psychologist once said, "We are Spiritual beings having a human experience." Everyone has this creativity within and it becomes our responsibility to develop and foster that unique gift and helps us live our lives on a deeper and more spiritual level. It is about living your life from the inside out. Once you start looking at your life with beautiful possibilities, every opportunity becomes more life giving.
Our time here is precious and each one of you has many gifts to share with others. In turn as you share those "gifts", you heal and find true meaning, significance and purpose in your life. And you are giving others what matters in their lives and making a difference.
Thank you all for being here today. I encourage all of you to explore, and take risks to find that incredible beauty that lies within you. There is no time like the present. You are all blessings.
Patricia Duncan
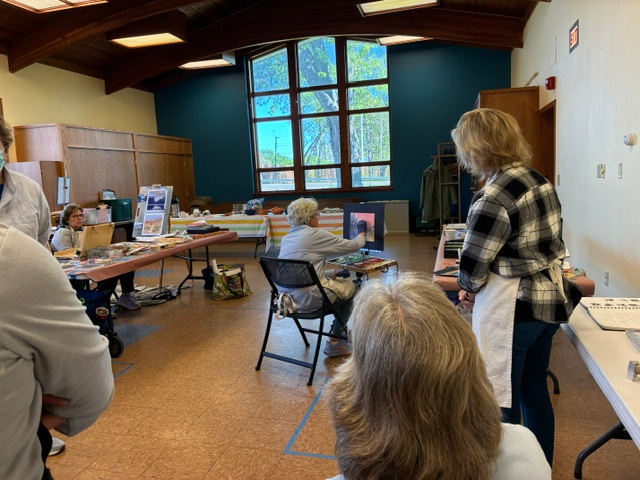
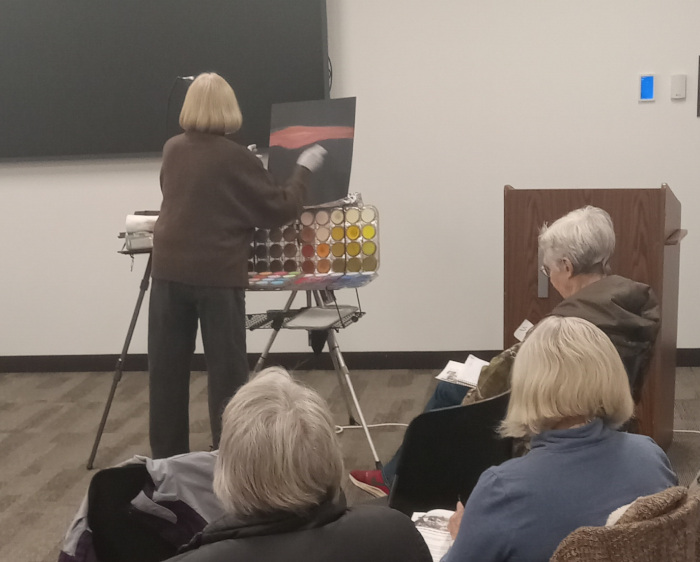
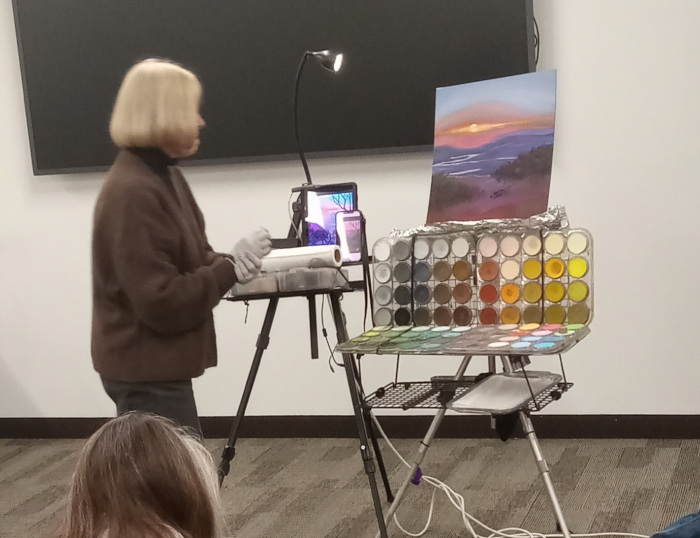
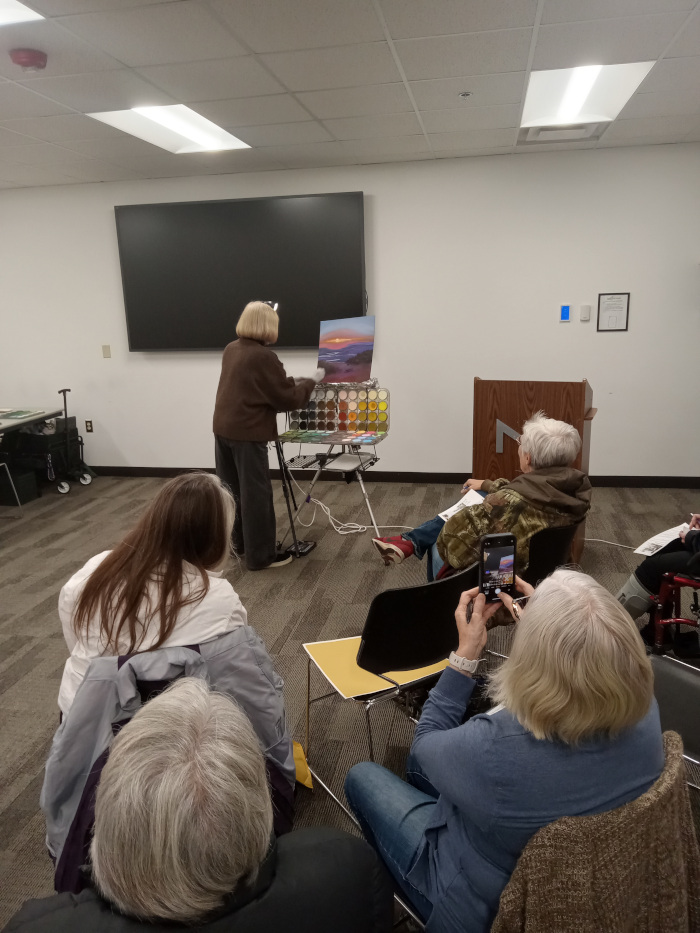
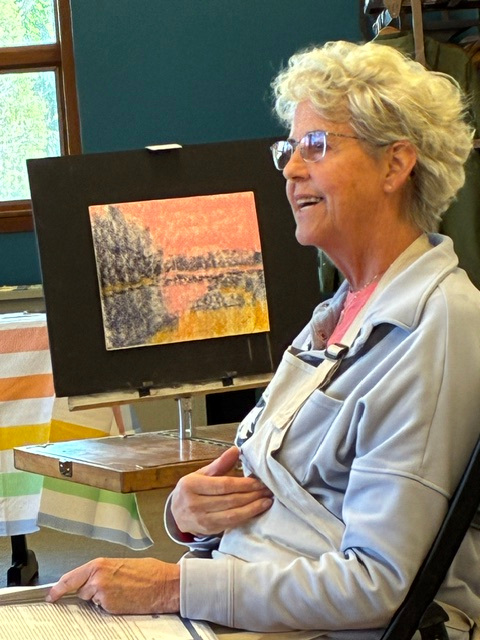
Patricia's demonstration was based on her painting process using her oil painting plein air near her place in Wisconsin as her reference for her Pastel painting. She established four shapes and started with the largest one, a tree mass. This she painted lightly with purple dark colors. Next, the road was painted with orange along with a focus tree. The grasses went down next using lighter purples and she explained why she would also put that color down for the distant trees, pushing them back into the landscape. All this underpainting is used to give form and depth along with luminosity. Remember to cover palette before spraying with alcohol, 70%.
After underpainting, a "first" layer of pastel is added into the large shapes creating some nuance and variety of colors within each value mass. After each area is developed, Patricia uses a pipe insulation piece to carefully blend in edges, lightly dancing off the paper and cleaning between colors. This builds harmony and unity and softens the edges. Final adjustments as the final layer of pastel is laid down. It was delightful to hear from participant, "The tree is coming off the paper." The small webbing from underpainting spray was created and made tiny branches appear within the clusters of leaves.
We welcomed new members.
The room was a buzz of excitement. Mentors were excited to see the progress of workshop participants and participants casually shared to gain insights from other wise among our members. We anticipate the upcoming Spring Showcase as over 100 pastel paintings go up at the Hopkins Center for the Arts.
Dawn Lees
Program Chair
Tuesday, March 10, 2026
Award winning Pastel Painter Lisa Stauffer presented for the members of Lake Country Pastel Society, Tuesday, March 10, 2026. This was our first ZOOM live streaming event for our group.
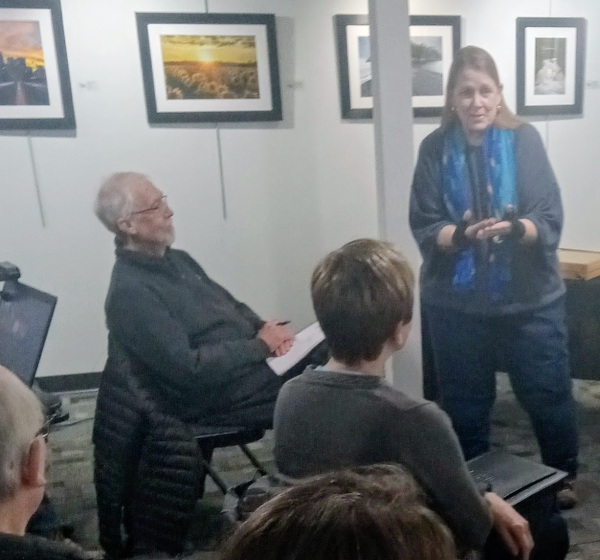
Lisa outlined the elements of design and identified how asking “art” questions provides a working frame in which to evaluate your painting.. Composition, value, space, shapes, color, line, texture, focus, edges, rhythm, movement, harmony, unity are some of the design vocabulary to use to direct your critique. Technical skills balance with personality to give voice and keep your piece interesting. Value and composition, color, and how a piece read, grabs attention to be dismissed, or engage the viewer. Competition judges see hundreds of paintings during an exhibit.
Lisa has a strong idea for developing her design concept as she begins a piece. She draws one or more value structures in a thumbnail sketch. By keeping eye level to scene, freely swinging a straight arm in front, Lisa is able to sight with one eye and measure for accurate size comparisons. Drawing skills are important to create a compelling painting. Start with a simple scene or one object still life. Using a red plastic film held straight in front, can help establish a value map. This is followed up with ever more decisions. Experience and practice comes from freely making “mistakes” and learning along the way. Slowing down and looking closely to see what is really in front of you, develops confidence, as does choosing your sticks slowly and comparing one to another. Warm and cool, light and heavy touch, staying within a value range give luminosity to any one area within your structure.
Lisa reminds us that, as our skills develop, we can have more fun with a few bits of punchy color in the area of focus. You can shift from building skills to building emotion into your painting creating a connection with the viewer. So when do you know you are finished with a piece?
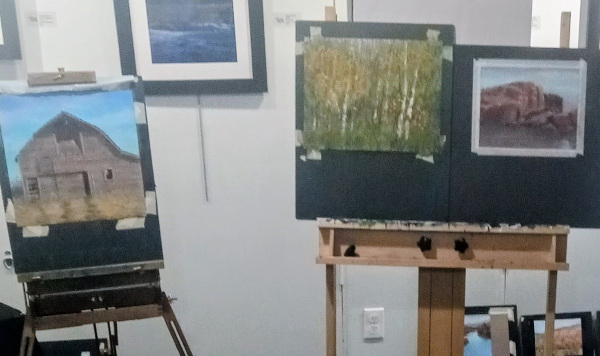
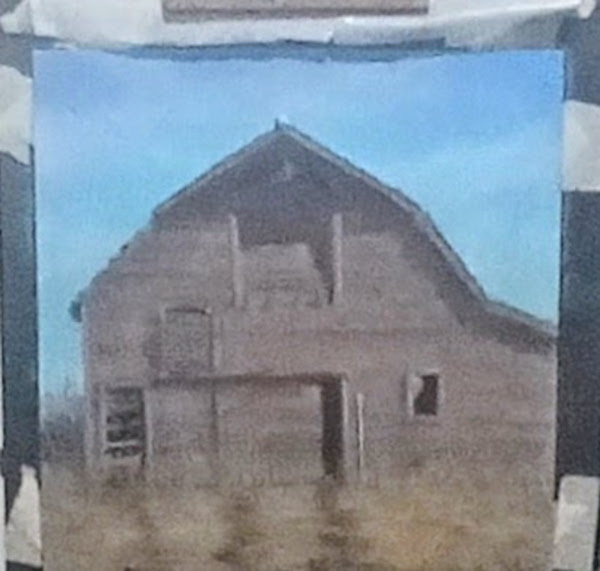
Ms. Stauffer shared five examples of her own pastel paintings, yet to be completed. Lisa practices how to step away, to gain fresh perspective when you find yourself lost in the painting, when the light has changed or the weather interrupts. To see her work in a new way, Lisa carefully lays black tape along the painting edges to remove any distracting marks. Other ideas Lisa shared to resolve painting is to ask yourself is, “What is working?” and “What is not?”, and , “Why do I think that?”. The artist gains confidence in interpreting their intent, and begins to respectfully evaluate and resolve their painting.
Dawn Lees
ZOOM participant
Winter Paint In Recap, January 2026
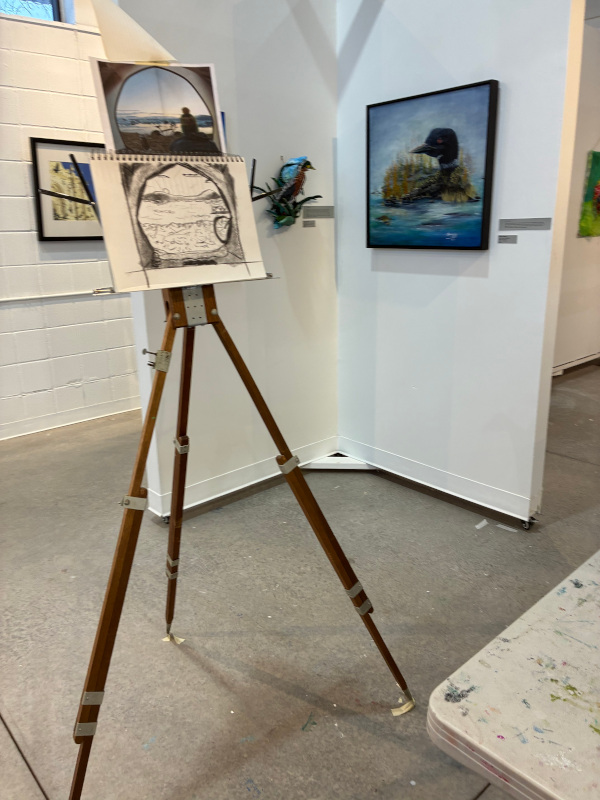
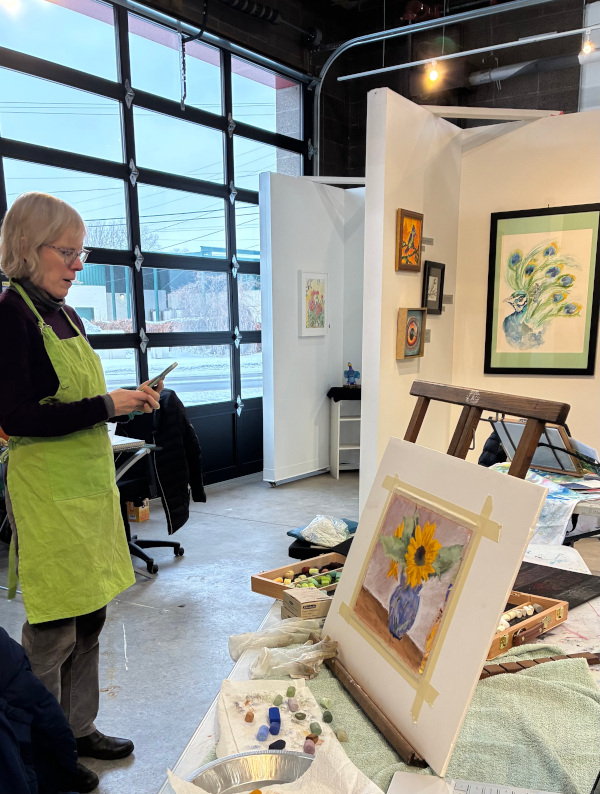
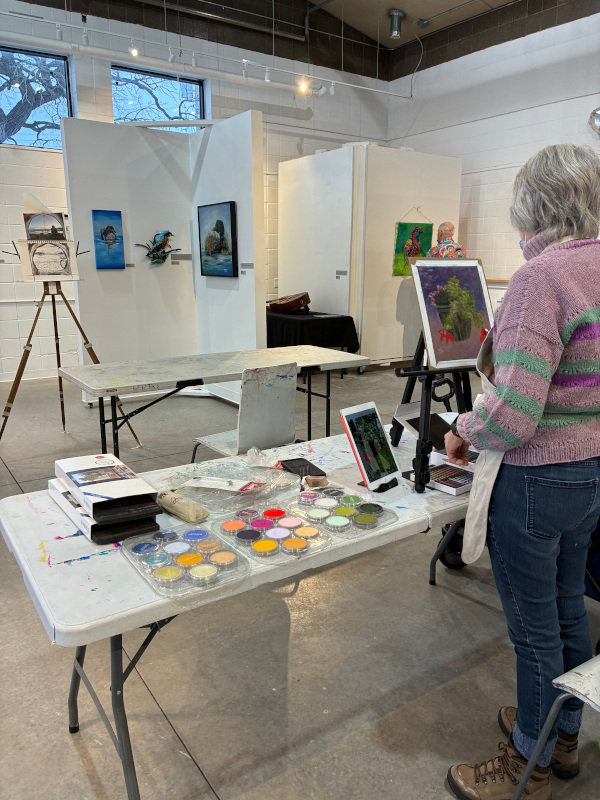
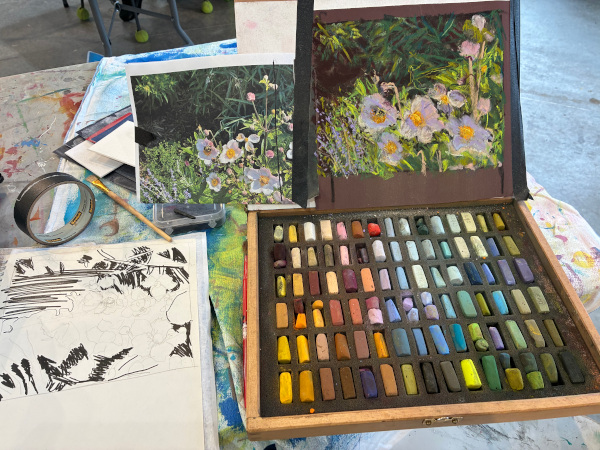
The January 2026 Paint In was held on Saturday, January 10 at the Creative Flow Art Center in Fridley. Large windows, fresh white walls, and bright lights showcased the current "Taking Flight" exhibit at the art center, and inspired the members who attended the Paint In. The Art Center set up tables for us within the exhibit space. Visitors to the gallery admired the finished paintings on the walls and watched as we created our artwork. Dawn chose a flower garden with pops of pink, purple and white flowers, Sandy painted a plant with trailing green vines and red flowers, and Cathy attempted sunflowers in a blue vase. Steve worked on an interesting drawing from a photograph taken from inside a tent! The Art Center staff were enthusiastic supporters of our work and were interested in learning more about pastels. We were happy to share our tips on our favorite brands of pastels and painting equipment.
CHERI GINSBURG MEETING RECAP – NOVEMBER 11, 2025
Cheri was introduced after our short business portion of the meeting. She began with a brief history of her life that led up to becoming a pastel artist. She began her art work as a pen and ink artist. During that time her “job” was working for a cosmetic corporation, working with cosmetics. Sometimes creating new designs while applying the make up. For a short while she also learned about sculpture in Sante Fe after watching a professional create one of his works. Once she started her own family, with her husband, they started a furniture design business. Her favorite part was painting the designs. She was diagnosed with cancer and realized that she had wanted to be a professional artist. She kept her promise to herself that after recovery, she would focus on art and began visiting museums everywhere she went. She realized that many of the paintings that attracted her were done in pastel, so she chose that medium for her career. It was when she looked for a darker black that she discovered pan pastels. Having worked with make-up kits, it was natural for her to pick up on that format.
Cheri bought a set of 80 colors and realized she could create any color she wanted. The paper she was using was Uart 600, but there are two others she can work with as well. She likes working with Hansen pastel boards. She prefers sanded papers over plain ones. The set she purchased came with a full set of applicators, paper and pens. Applicators do not have to be washed. Rubbing them on paper towels will clean them plenty. Do keep a few of the applicators for the lighter values. Use the sponge applicators lightly on the sanded surfaces and you won’t have any problems.
Cheri began her demo on the Hansen pastel board. Once you get used to working with pastels, it is easy to mix colors and achieve the effect you want. After doing an underpainting, she will lightly spray it with alcohol before continuing. She only uses fixatives to lighten or darken a painting, and occasionally give more tooth to her canvas. Mostly her pressure is very light, but it can be easily adjusted if need be. When you are dabbing on the painting, don’t just keep punching the painting, vary your hand position throughout the process. That evening, Cheri mostly finished her painting within the time slot she was given. Following the presentation, people were invited to play with and test the set of pastels she brought along with applicators, and different types of paper.